Cheers,
Alex
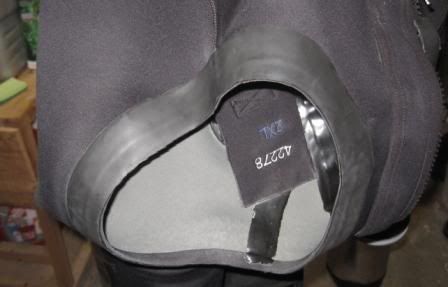
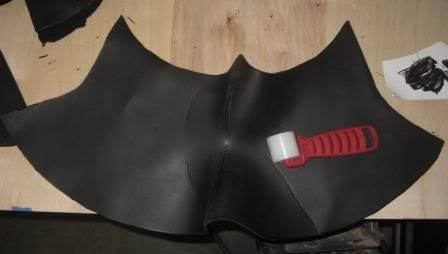
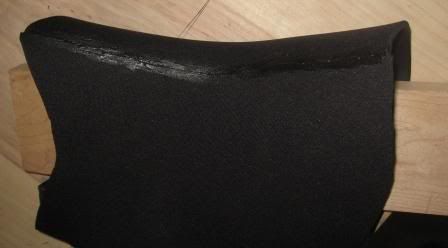
Youtube is your friend. It's pretty easy, just heat it up (I use a heat gun) and some old towels to press it into shape. Buy extra kydex, you'll screw up 1 or two when learning how to do it. You can get rivets, but I just use #4 SS screws and nuts to hold things together. Make sure and make the belt loop wide enough to take 2" webbing double thick with a little slop or it's going to be too tight.Anthony wrote:So do any of you have any advice on how to make a kydex sheath? I found an Ocean Master knife the other day and it cleaned up well but to buy a new sheath from OM is $35. I found some kydex knife kits for about 10 bucks to make your own, but don't really know what I'm doing.

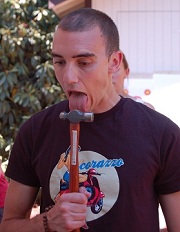
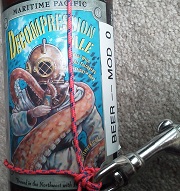
Aquanautchuck wrote:Here is a picture of my latest DIY project. I know it's not scuba but still cool. Made out of recycled parts except the stainless steel top.
Next project is a garden Bell or Gong. Oregondiver gave me a old failed al80 and I already have it cut up and modified. Now I need to make a base and stand.
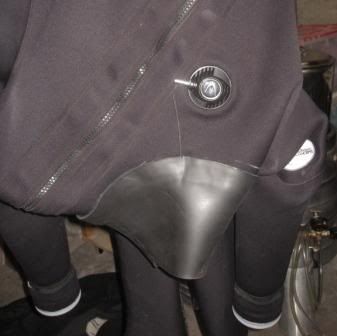
I think it was like $50 for shipping and $100 for a pressure test, I think the seal was $60+ labor to install. Tacoma scuba's price was much less, but not quite as cheap as this (assuming it works out).Burntchef wrote:by any chance did you get a price from dc for them to install a neo neck seal, looking to go that route as well.
That sounds about right. Whites charged me $200 round-trip.Nwbrewer wrote:I think it was like $50 for shipping and $100 for a pressure test, I think the seal was $60+ labor to install. Tacoma scuba's price was much less, but not quite as cheap as this (assuming it works out).Burntchef wrote:by any chance did you get a price from dc for them to install a neo neck seal, looking to go that route as well.
Dusty2 wrote: only take a couple of minutes to change.
Yes I did but I found one on ebay at a reasonable price and the agro glands are the only way to go!Nwbrewer wrote:Looks really nice Dusty. Did you buy the tap for the agro glands? ($$$Ouch!)